Jotar 2D Engine
The Jotar2D Engine is a simple 2D game development engine in C++ that has been my learning ground for C++ programming and design patterns. The engine includes essential features for building and managing a 2D game:
- Game Loop and Scene Manager for controlling game flow and scene transitions
- Component System and Scene Graph for flexible object behaviors and structures
- Input System supporting controllers with commands
- Observer Pattern for event-driven responses
- Simple Collision Manager for managing game object interactions
- Sound System utilizing threads to handle audio
- World Time Manager to track game time
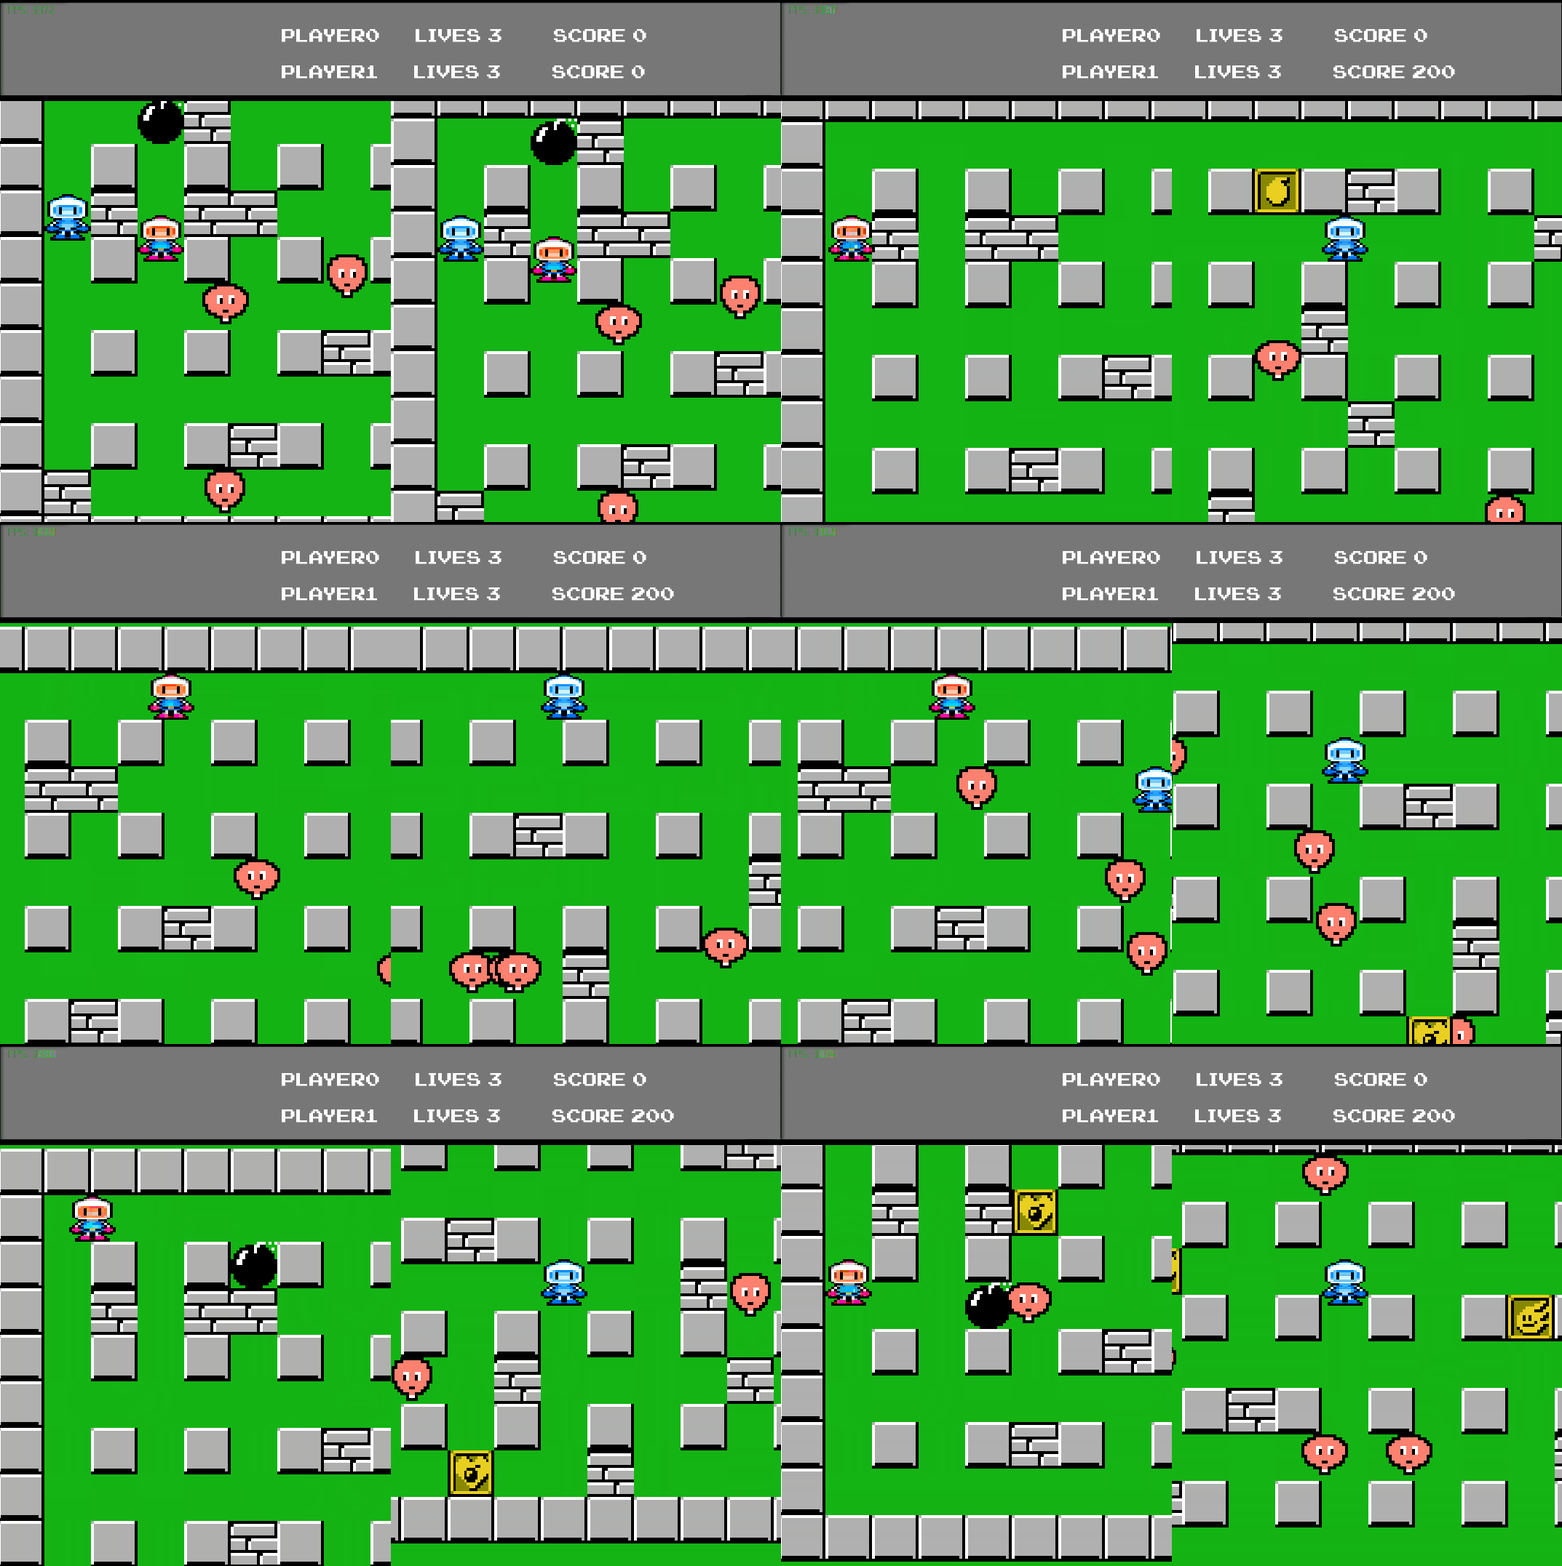
- Renderer with Split Screen support
Design Choices
Game Loop and Scene Manager
The game loop runs in the following sequence:
Time Update -> Input -> Fixed Update Collision -> Fixed Update Components -> Update -> Late Update -> Sound Update -> Render -> Destroyed Objects Clean Up -> Input Clear Frame Events
The Scene Manager is a singleton that helps load and manage scenes. Currently, a Start() function must be called manually when loading a new scene, though I may change this in the future for better integration with the engine.
Component System and Scene Graph
The engine’s component-based architecture, combined with a scene graph, enables easy customization and reuse of game object behaviors. Each object automatically includes a transform component, and additional components, like texture or collider, can be added as needed.
For example, a player object can be created with some components, and to remove them:
auto scene = Jotar::SceneManager::GetInstance().CreateScene("scene1"); // Creating the scene

auto playerObj = scene.CreateGameObject("Bomberman") // Creating the GameObject
playerObj->AddComponent<TextureComponent>( ...);
playerObj->AddComponent<ColliderComponent>(...);

if (playerObj->HasComponent<ColliderComponent>())
{
            playerObj->RemoveComponent<ColliderComponent>();
}
The scene graph allows adding child objects through the SetParent(parent) function or by creating child objects directly from a parent object.
auto HUDObj = scene.CreateGameObject("HUD") // Creating the parent GameObject

// Method 1

auto playerTextObj = scene.CreateGameObject("PlayerText") // Creating the child GameObject
playerTextObj->SetParent(HUDObj,..); // Setting the parent

// Method 2

auto fpsCounterObj =  HUDObj->CreateChildGameObject("fpsCounter"); // Creating the child GameObject and add it as child

// To remove a child

fpsCounterObj->SetParent(nullptr);
Input system with controller support using the Command pattern
The input system, compatible with both Xinput for controllers and SDL for keyboard input, uses the pImpl pattern to separate the library specifics from the engine. The Input Manager enables objects to respond to controller or keyboard inputs, and also offers methods like IsKeyUp() and IsControllerButtonUp() for use throughout the game.
Observer pattern
The Observer pattern is available in the engine, allowing components to respond to events. For example, a health display component can observe and react to damage events:
class HealthDisplayComponent final : public Component, public Observer<Event> { // Add the Observer with the eventType

            // ... other functions

            void OnNotify(const Event& event) override; // override the function

}


void Jotar::HealthDisplayComponent::OnNotify(const Event& event)
{
            if (typeid(event)) == typeid(DamageHealthEvent))
    {
            // ...
    }
}
Collision Manager
The Collision Manager is a Singleton that tracks colliders in each scene. The observer pattern notifies the collider components when there is a Collision or trigger. The Collider Component itself also Notifies when the Trigger Begins and Ends to anyone that is listening. The Collision Manager also handles RayCasting with a threading pool
The CollisionManager.cpp FixedUpdate() handles the collisions.
See CollisionManager.cpp CodeSound System
The sound system uses SDL_Mixer, managed through the pImpl pattern, with the Service Locator pattern enabling sounds to be queued and played using threads. Sounds are enqueued with a simple command and played in the Update() method. Here’s how a sound effect might be added and called:
See SoundSystem.cpp Code
SoundServiceLocator::GetSoundSystem().AddSound("Path", "name"); // To Add Sound

SoundServiceLocator::GetSoundSystem().Play("name"); // To play the Sound
Renderer
The renderer, based on SDL, supports layering textures and using multiple cameras for split-screen. Each camera can be independently configured, although the layout of the camera’s view rectangle must be set up manually. HUD textures are rendered once, regardless of the number of cameras.

World Time Manager
This singleton provides access to total time, FPS, and delta time across the game, eliminating the need to pass these values explicitly through update methods.